Candles are great healers. They not only brighten the dark rooms, but also our lives. They are considered as cool gifts. They are inexpensive and are an economic way of gifting.
 Candle Making Supplies:
- Candle wax – Paraffin wax, soy wax or beeswax
- Candle wick
- Fragrance oil
- Colors
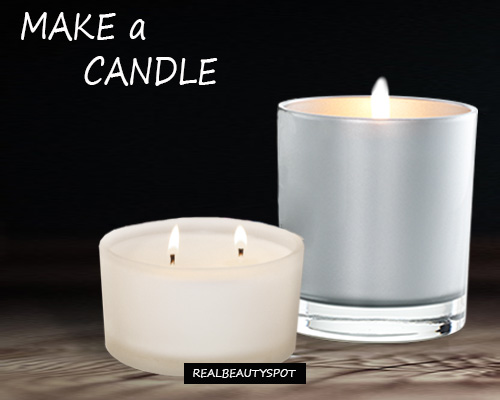
- Mold or Containers – mason jars, tea cups etc
Process of making candles at home:
Allocated Wax Area: Before you begin the candle making process, ensure that you allocate some specific space for it. Spread some newspaper in the dedicated area, wax paper, rags and towels should be handy. Place all the necessary tools that you would require in the process.
Double Boiler: It is not advisable to melt the wax directly on heat. It is a gradual process, failing which might lead to fire or evaporation. Fill the larger pot with water and set it on fire. Let it boil. Place a small pot foiled with water on it. Ensure the smaller pot doesn’t sink. You can purchase a heat safe utensil which is specifically made for candle making. Purchase a quality one.
Chunk the wax: Do not place the entire block of wax in the pot. Chop it to smaller pieces, such that it becomes easier to melt. Let the wax be chopped at an even rate.
Melting of wax: Place the chopped wax in the smaller boil and then set it in the larger boil. Let the boiled water perform its task. You can keep the heat high or low, depending on the wax. Let the wax melt completely. Stir it and clear the lumps, if any.
Perfume the wax: We all would love scented candles. It is such a delight to feel the aroma. You can choose the scent as per your choice. It is advisable to read the directions mentioned on the scent bottle and add the drops accordingly. You can add depending on how strong fragrance you want.
Color the wax: You can add pinch of your desired color to the wax. Do not add water based color to the wax as it will not support. Please go with oil based color from the general store. You can specifically purchase the candle dye. Read the instructions carefully on the bottle and add it accordingly. The variations will differ different on the amount of color you add.
Place the wick: Place a thick wick at the center of the mould, such that it is inches out from the candle. Loop the end that will be out of the wax using a pencil or pen or any such tools. Let the wick be standing straight outside the wax. You can use the pen or pencil support.
Pour the wax in the Mould: You can choose the candle mould depending on your requirement and keeping in mind the occasion. You can use any utensil, tea cups, mason jars or pot that can withstand the hot wax. Metals are usually safe. Pour the melted wax in the mould such that it doesn’t affect the wick which was set earlier. Pour it slowly and do not spill it. You can fill it depending on the size that you want. Beeswax will shrink after cooling,hence take a call on it.
Cooling Process: Once the container is set, allow it to cool naturally for 24 hours or more .It depends on the wax that you have used as wax has different cooling temperatures. Trim the wick slightly, so that it flames easily. A longer wick is not great to look at. Your candle is ready. You can remove it from the mould if you wish to. Put the mould in the chilled water and place it upside down to release it from the container. Light it using a match box.